Form Setup
This guide will help you configure and use forms in your website builder.
1. Configure API Key
- Go to Website → Website Builder.
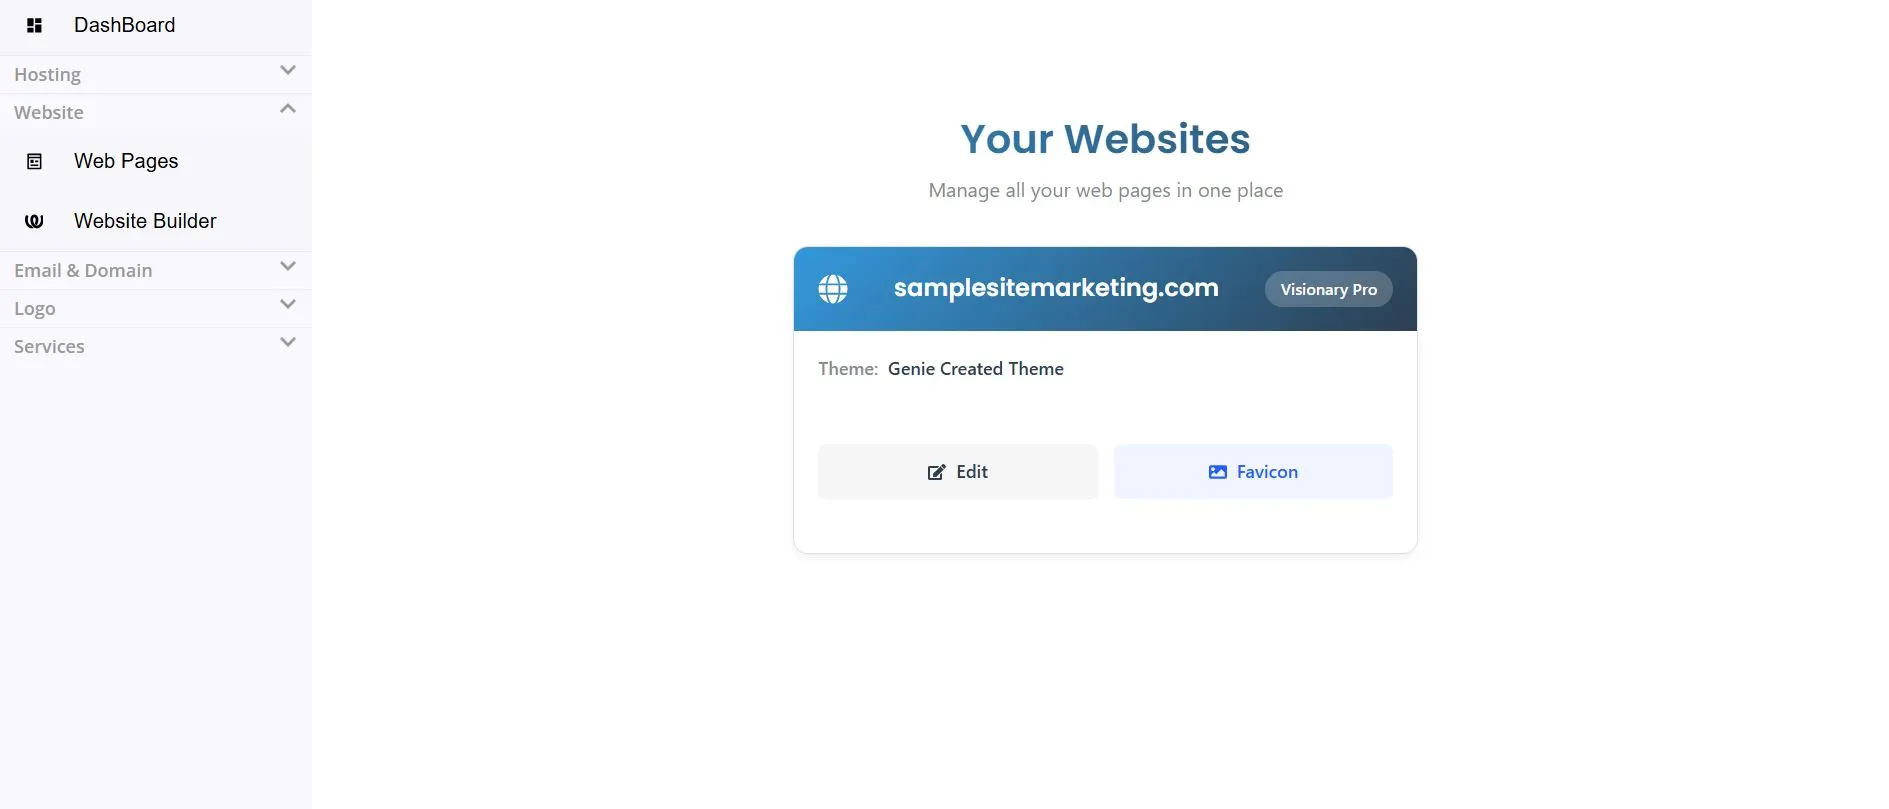
-
Then Go To Edit → Form Config.
-
You will see:
- Domain
- API Key
If API Key is not configured:
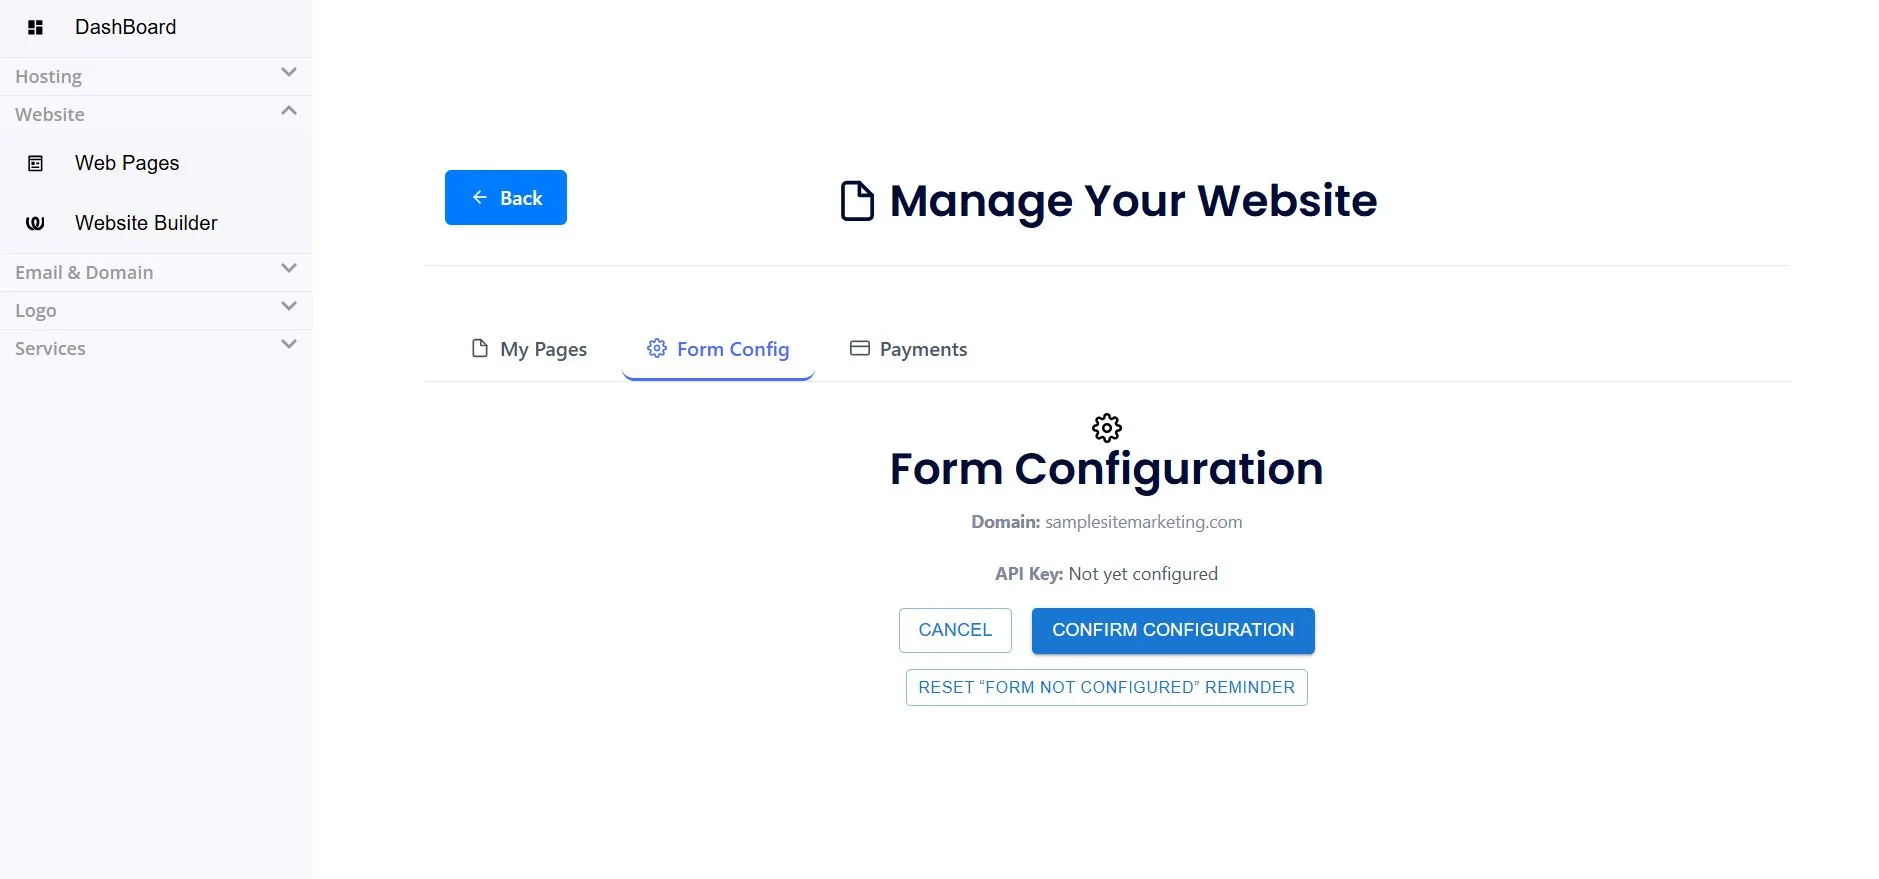
- You will see a button Configure Form.
- Click the button to generate and link an API Key.
- Once successful, you will see the message:
“Form configured successfully.”
If API Key is already configured:
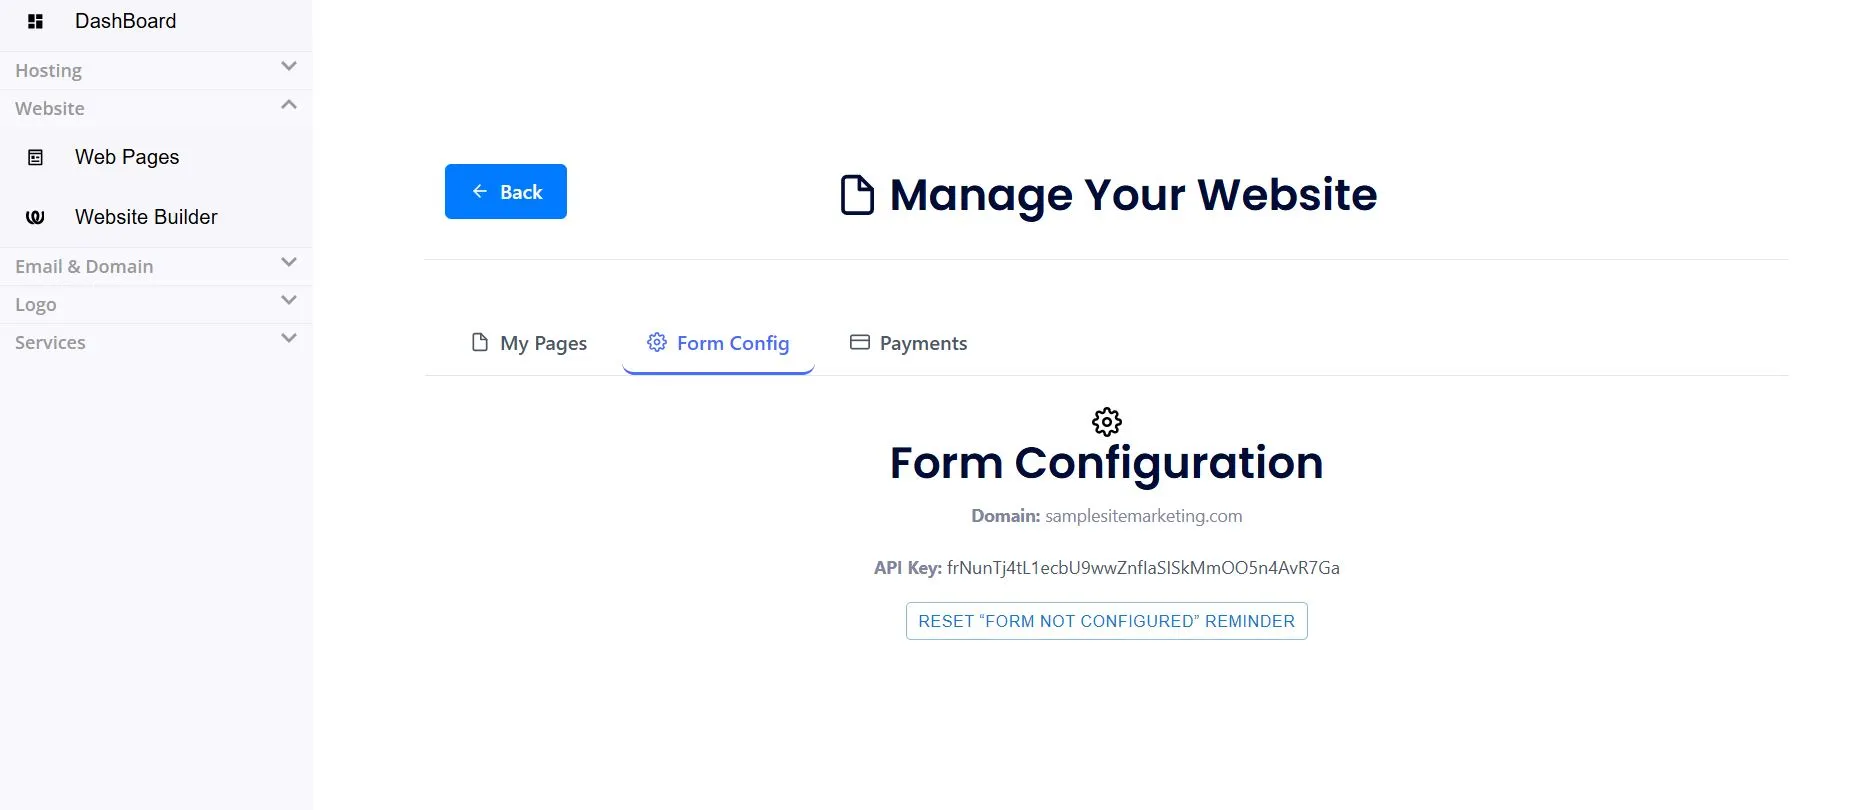
- You will see your Domain and API Key value displayed.
- No further setup is required here.
2. Configure Contact Form
-
In the Pages section, select your Contact Page.
-
Click Edit to open the page editor.
-
Inside the editor, locate the Contact Form block.
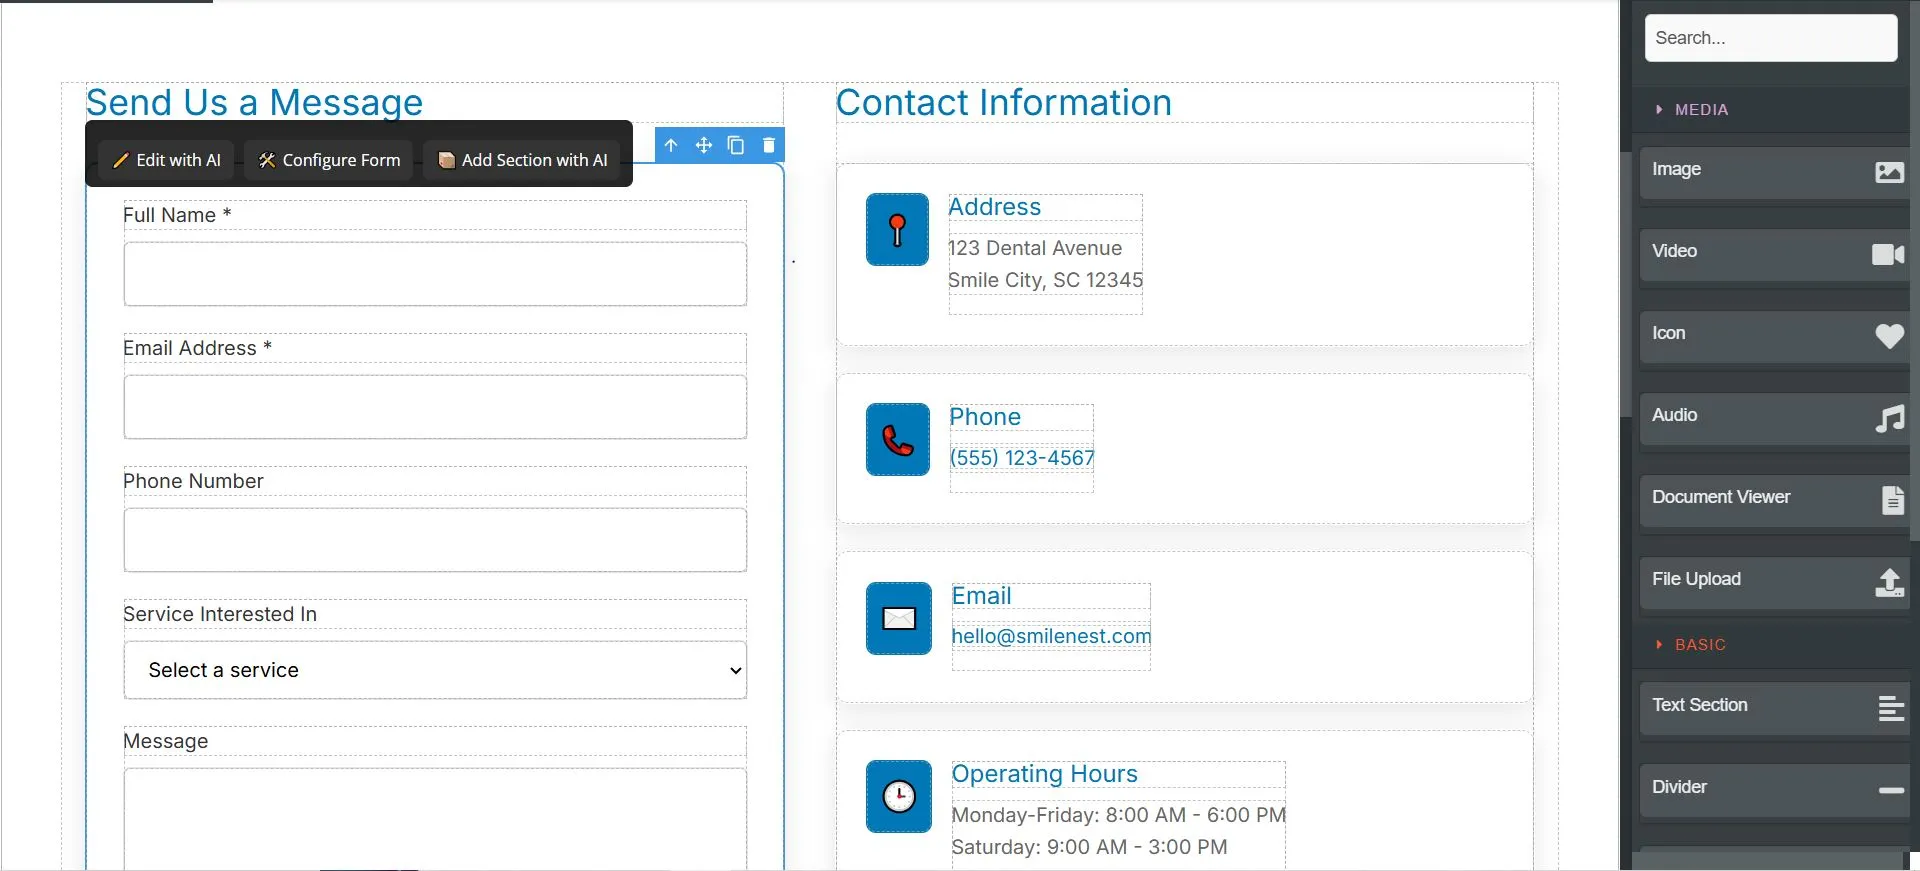
-
You will see a 🛠️ Configure Form button above the form.
-
Clicking it will open a configuration modal.
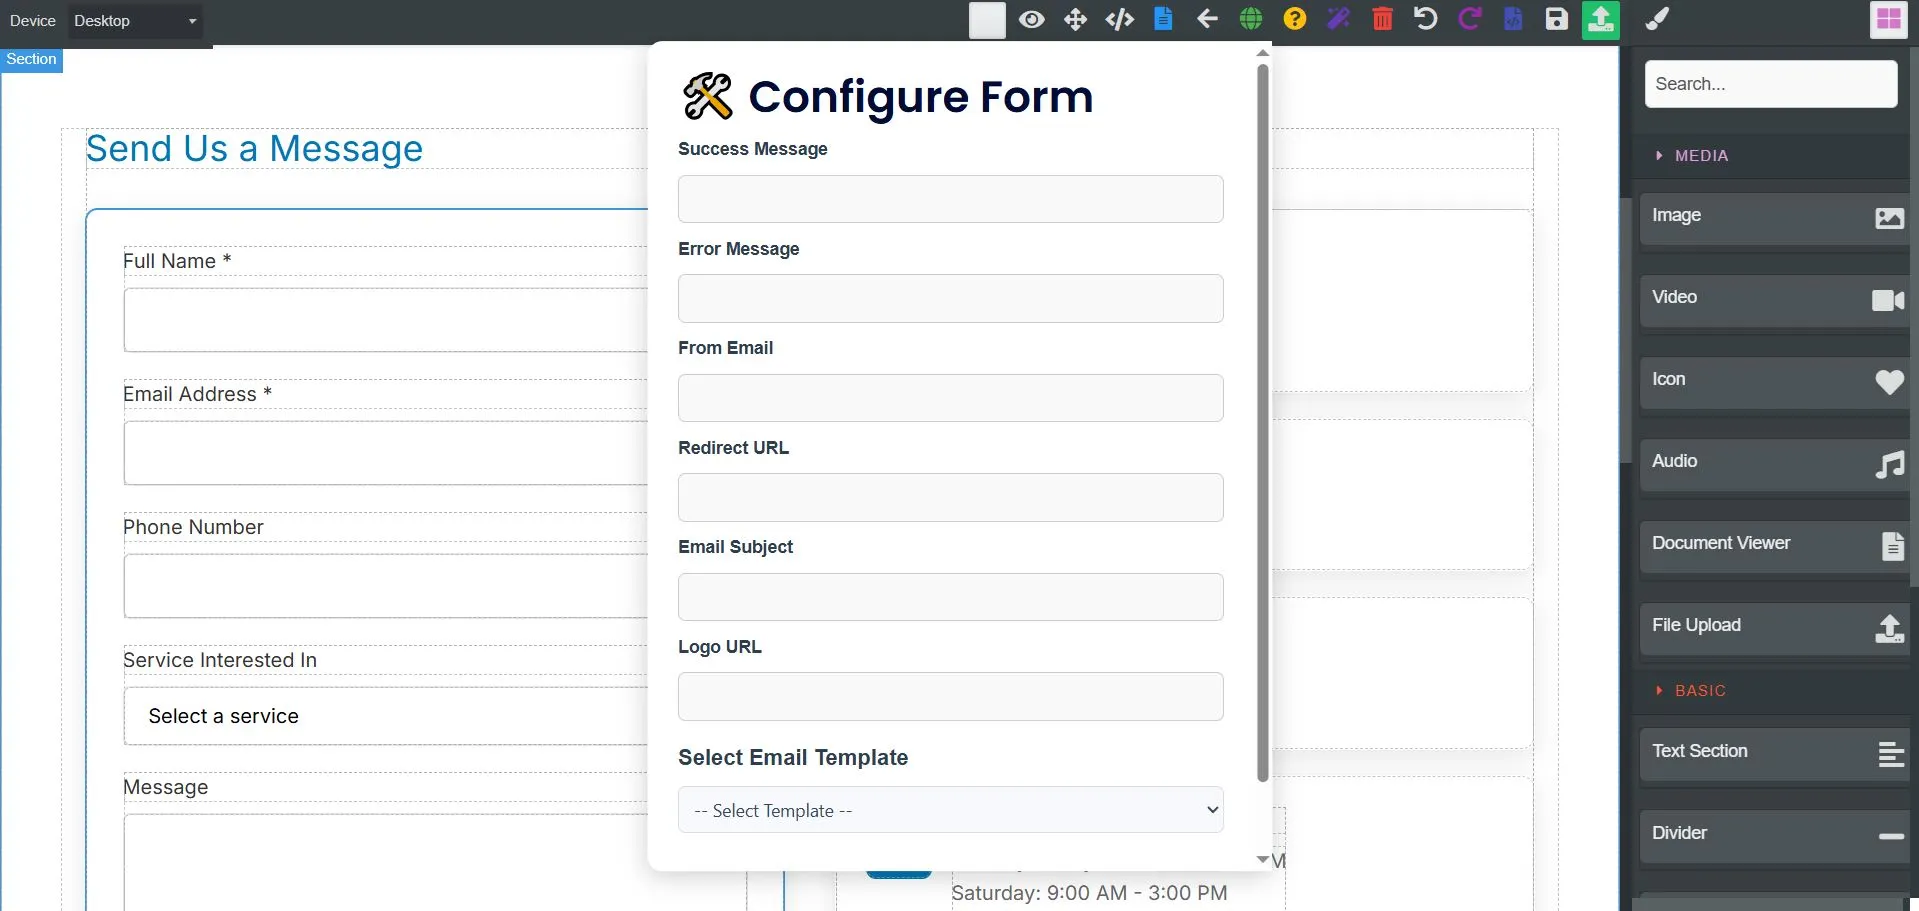
-
-
In the Configure Form modal, enter the following details:
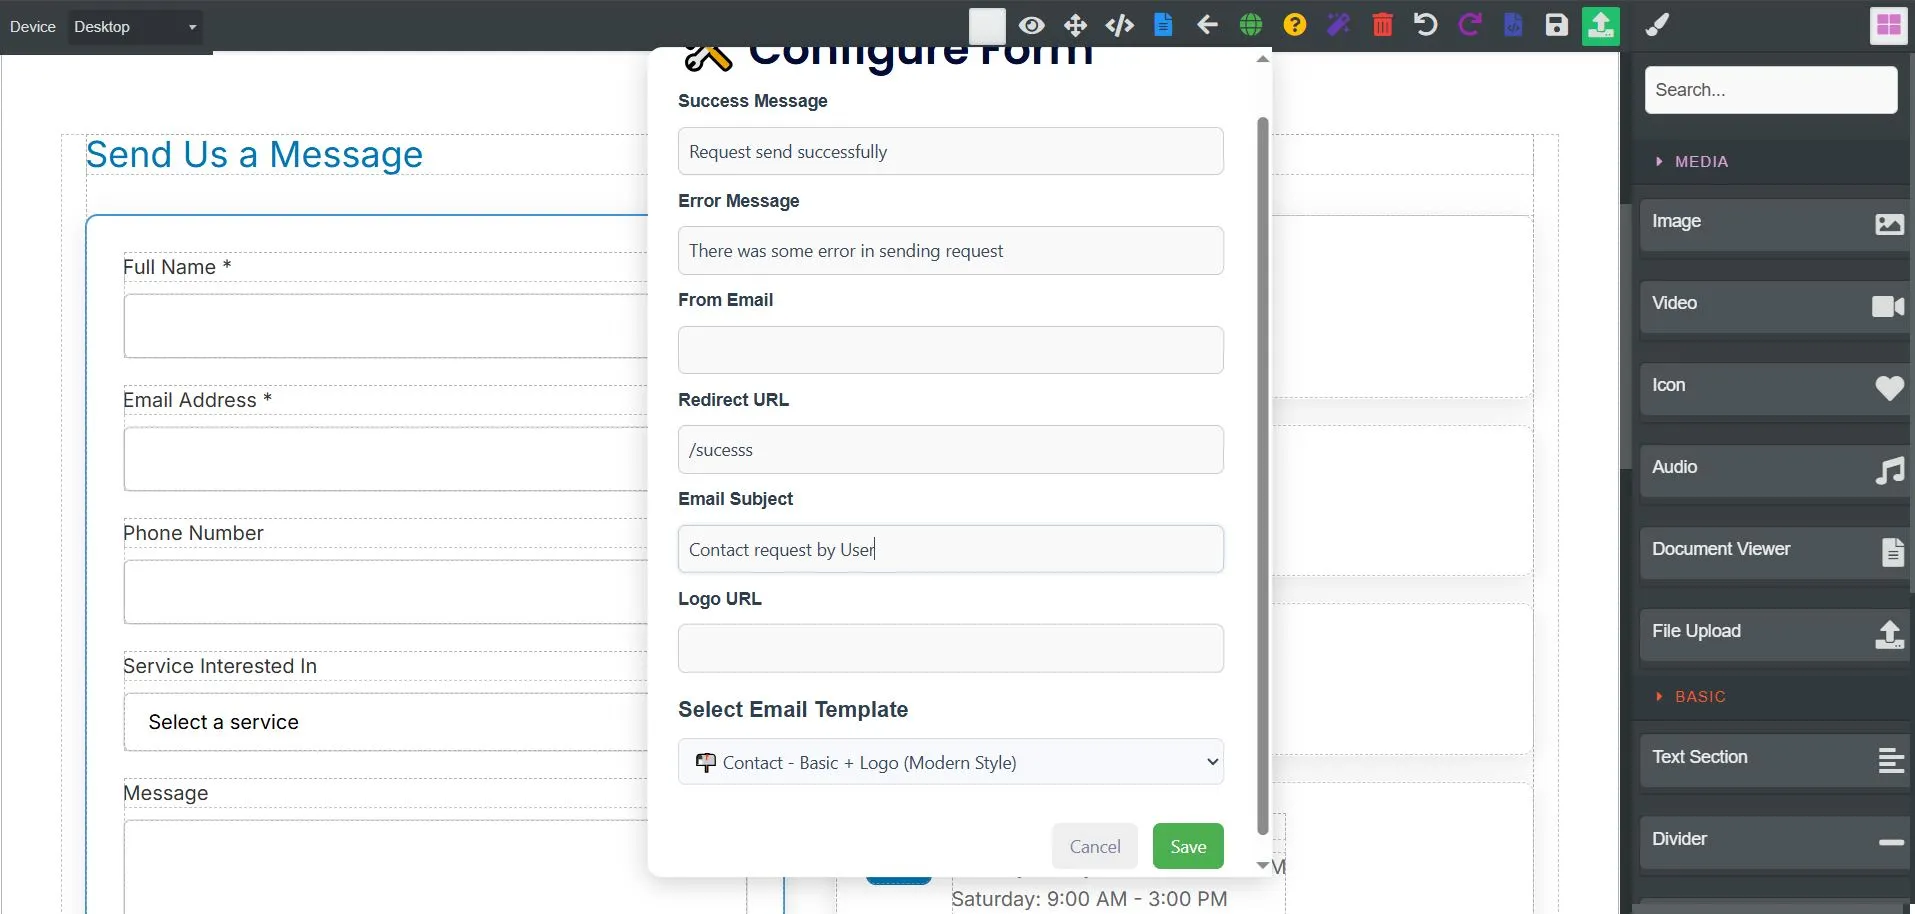
- Success Message – text to show when the form is submitted successfully.
- Error Message – text to show if form submission fails.
- From Email – the sender email address for form submissions.
- Redirect URL – page users are redirected to after successful submission.
- Email Subject – subject line for email notifications.
- Logo URL – optional logo to display in confirmation.
- Email Template – choose from predefined templates and preview them live.
-
When finished, click Save.
- Your settings will be applied to the form in the editor.
3. Publish
After configuring your form settings, you need to publish the page so the changes go live.
- Click the Publish button in the editor toolbar.
- This will deploy your updated contact form with the new configuration.
- Make sure you publish every time you make changes, otherwise they will not appear on your live site.
🎉 Your contact form is now fully configured and live!