🌐 How to Change the Favicon Icon on Your Website
A favicon is the small icon that appears in the browser tab next to your website title. It enhances brand identity and gives your website a more polished and professional appearance.
With CloudMySite Website Builder, updating your favicon is super easy and can be done in just a few steps.
🔎 Step 1: Check Your Hosting Plan
Before updating the favicon, confirm which hosting plan you're using:
- Webpage Builder Plan
- WordPress Hosting
- Joomla Hosting
- Drupal Hosting
If you're using the CloudMySite Webpage Builder, follow the steps below.
🛠️ Step 2: Select the Website Icon
Click on the website icon section inside the builder panel. This allows you to update the icon used throughout the website.
![]()
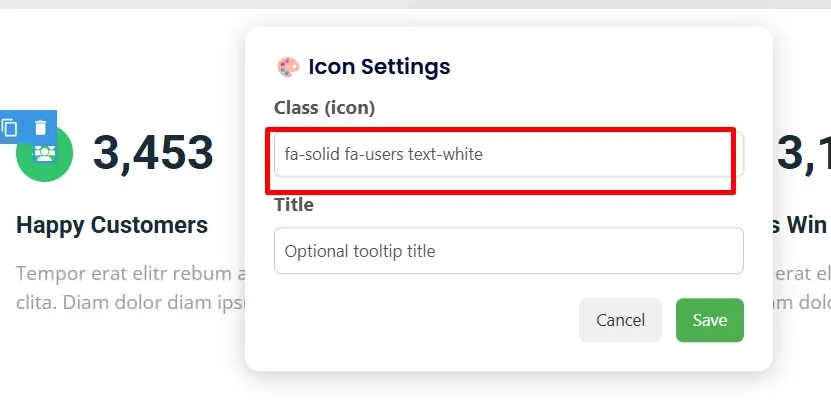
⚙️ Step 3: Open the Icon Settings
Once selected, you’ll see an Icon Settings panel appear on the right side.
![]()
🎨 Step 4: Change the Favicon Icon
Inside the icon settings:
- Select Icon Class / Icon
- Upload or choose a new favicon
- Preview the updated icon
- Click Save
💾 Step 5: Apply & Save Changes
- After updating, the favicon will immediately appear in the builder preview.
- Click Save to apply the changes to your live website.
- Your new favicon is now active across all browser tabs.
🎯 Final Result
Your updated favicon will now display in the browser tab, giving your website a more branded, unique, and professional identity.
🔗 Related Tutorials
You can also check guides like: