Campaign Creation
The Campaign Creation Wizard guides users through newsletter setup.
The wizard contains 3 steps:
- Choose start method
- Configure campaign details
- Select audience
Step 1 — Choose how to start
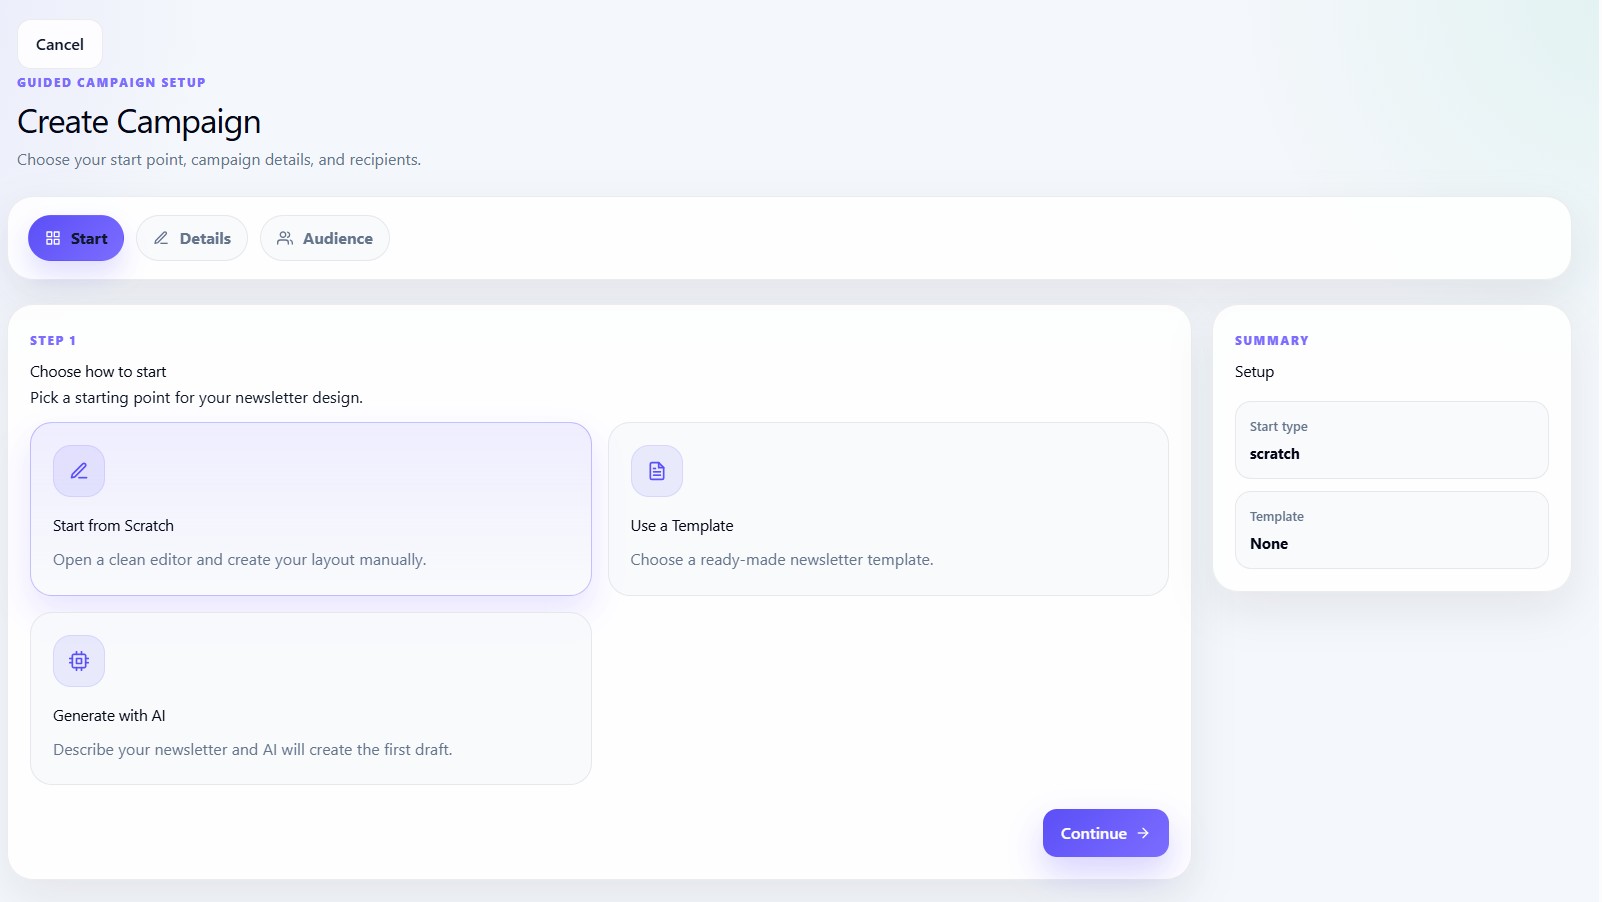
Users can start campaigns in three ways:
| Start Type | Description |
|---|---|
| Start from Scratch | Open empty editor |
| Use Template | Start from a prebuilt template |
| Generate with AI | AI creates initial newsletter draft |
Start from scratch
Scratch mode opens a clean newsletter editor.
This is best for:
- Custom layouts
- Full design control
- Advanced newsletters
Use a template
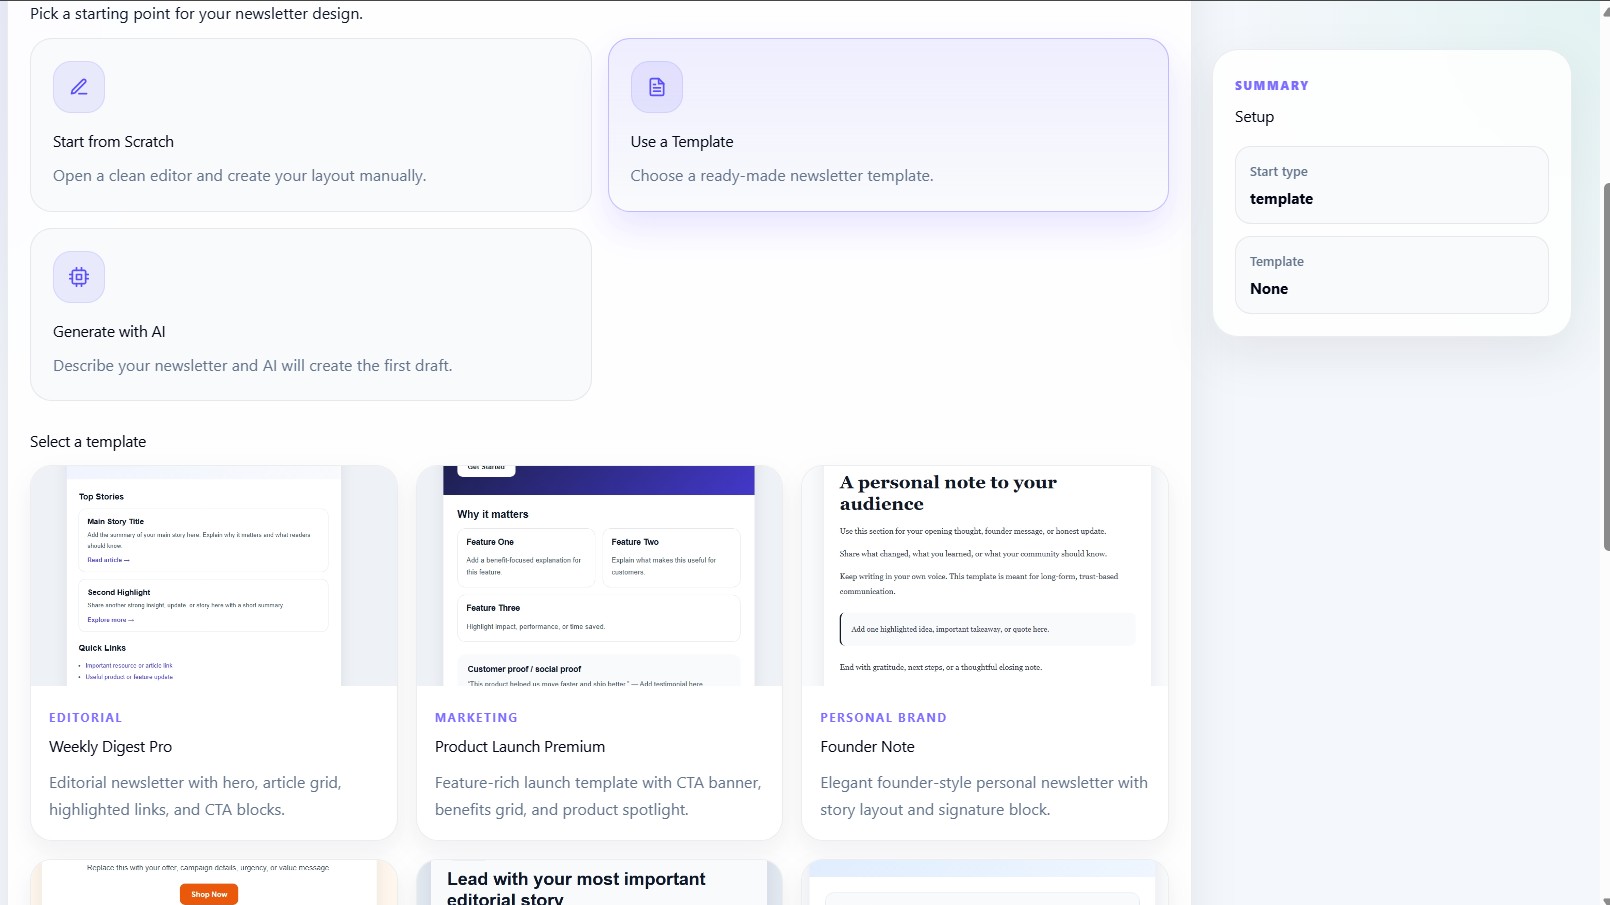
Template mode allows users to select a ready-made newsletter design.
Each template card contains:
- Thumbnail
- Category
- Name
- Description
Generate with AI
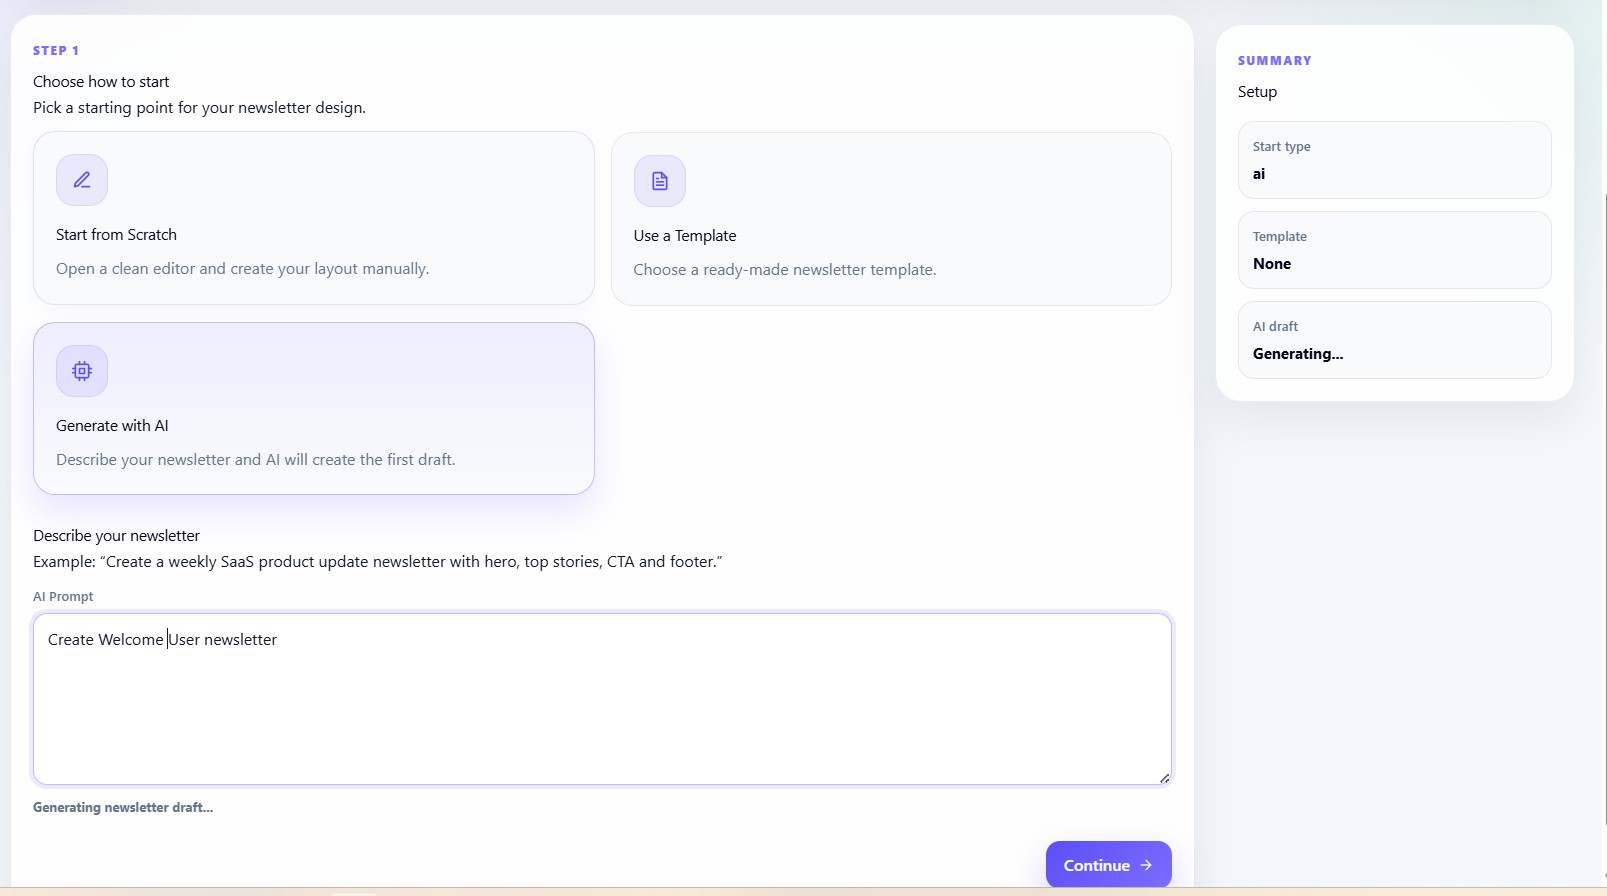
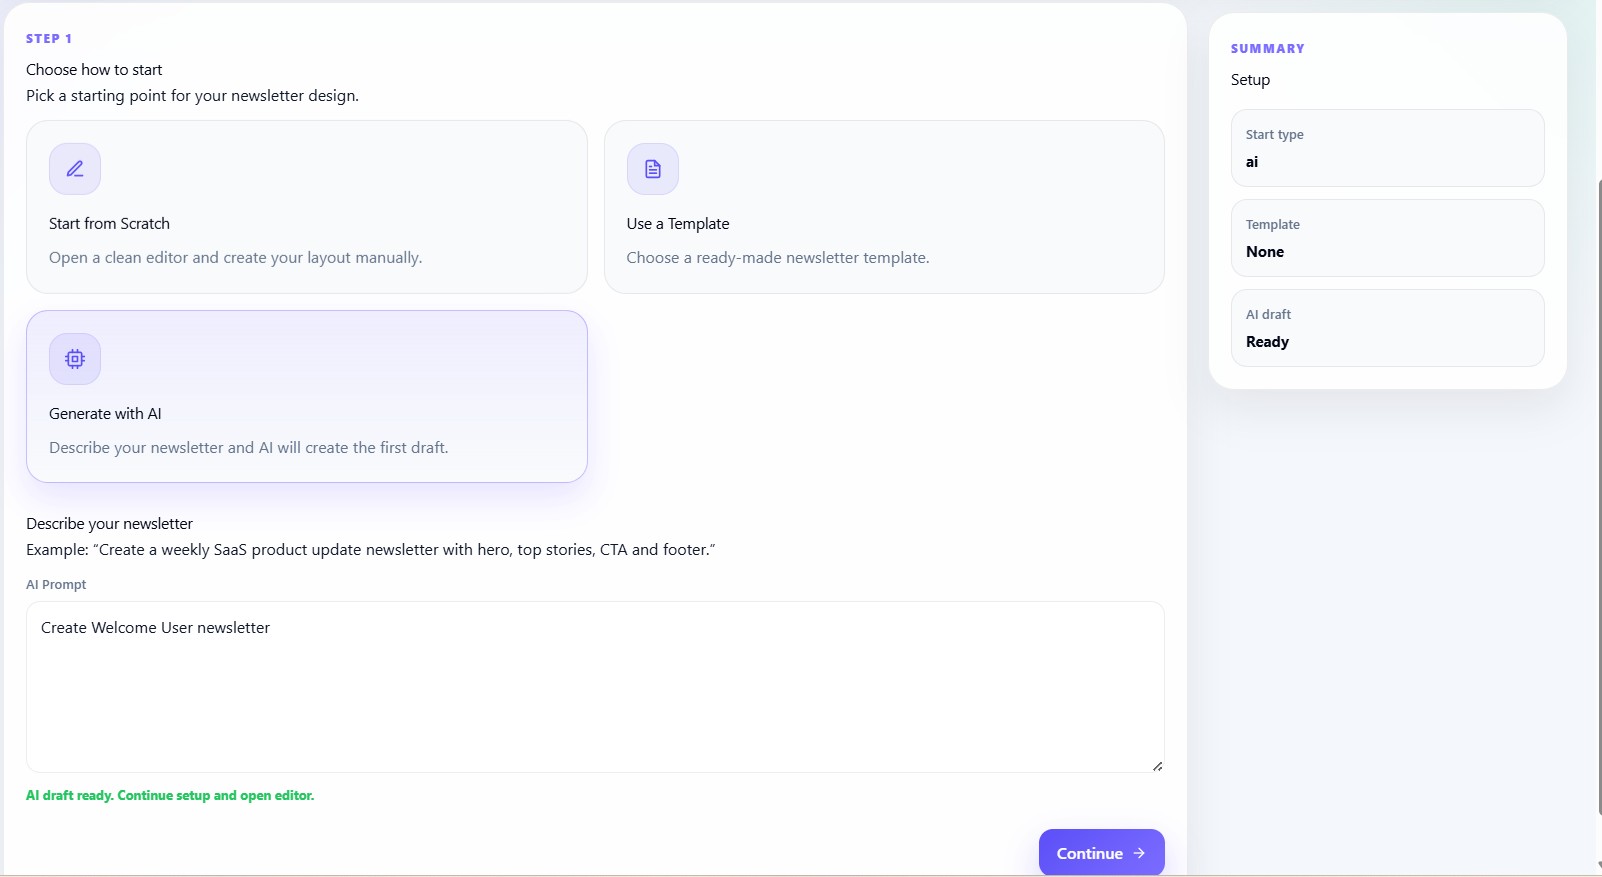
AI mode generates a newsletter draft automatically.
Users describe the newsletter using prompts like:
Create a SaaS product update newsletter with CTA and feature highlights.
The AI generator creates:
- HTML
- CSS
- Text version
Step 2 — Campaign details
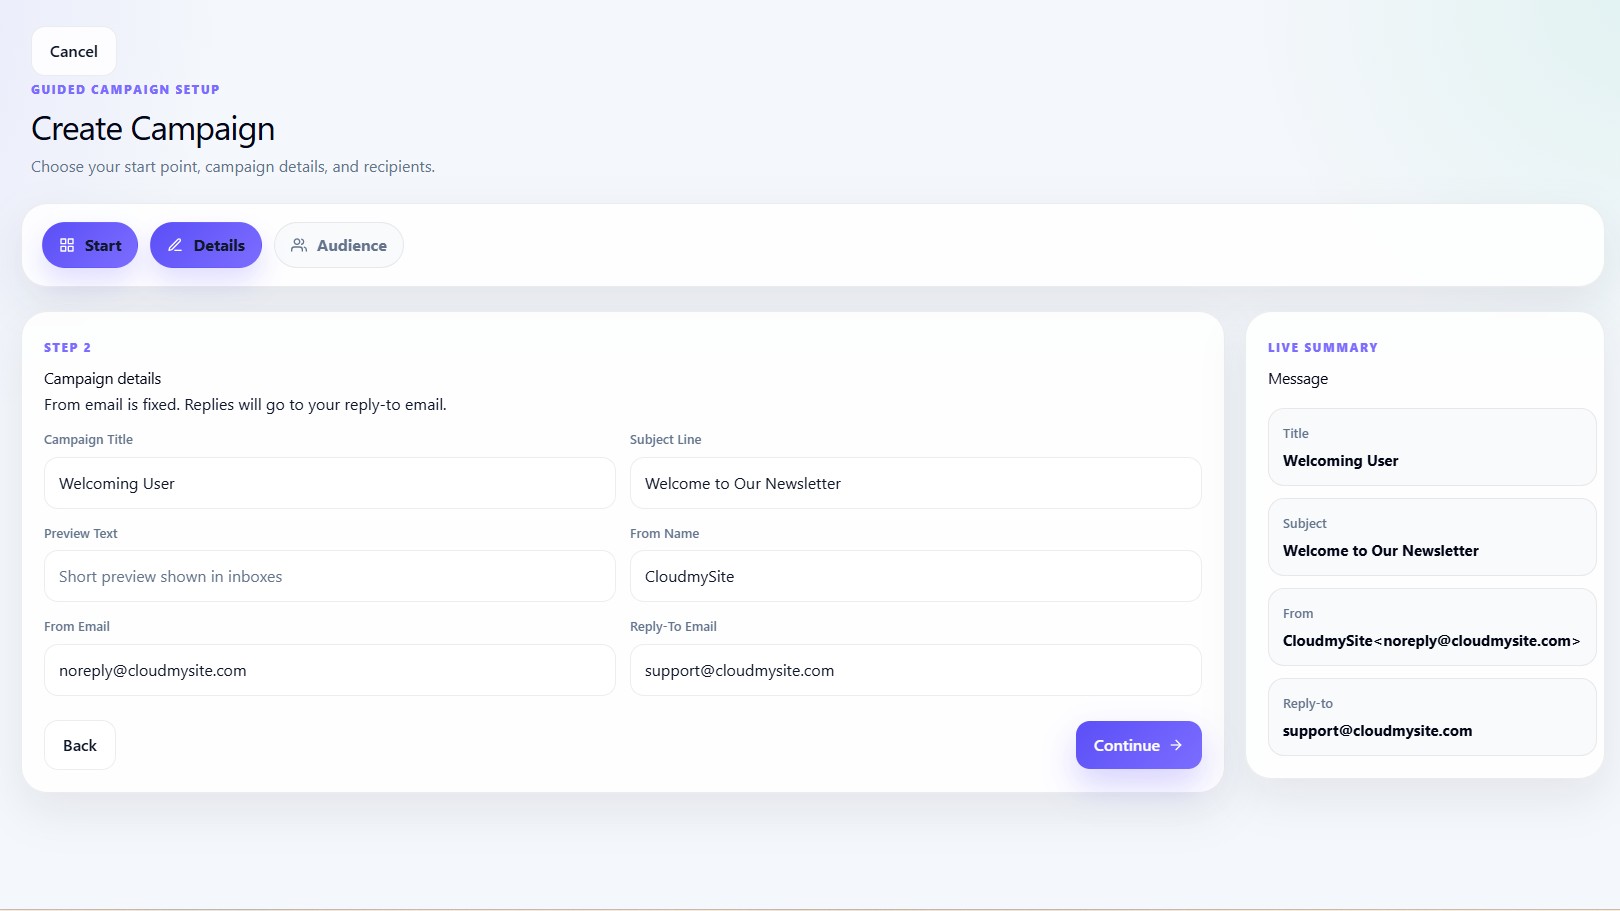
Users configure:
| Field | Description |
|---|---|
| Campaign title | Internal campaign name |
| Subject line | Email subject |
| Preview text | Inbox preview text |
| From name | Sender display name |
| Reply-to email | Reply destination |
From email
The sending email is fixed as:
Step 3 — Audience selection
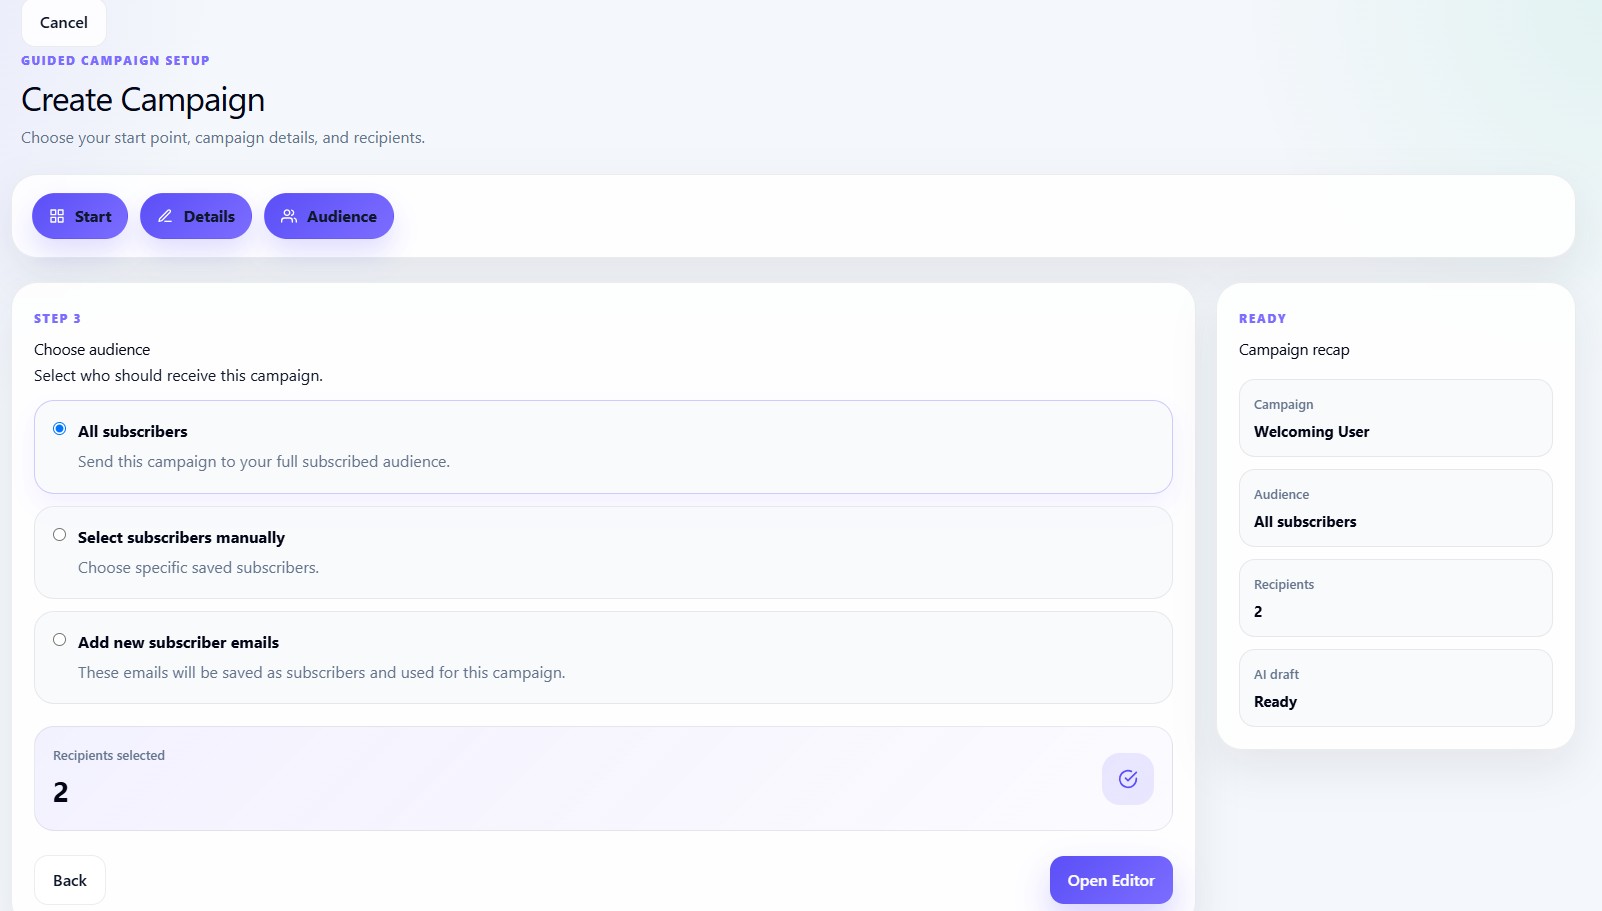
Users can send campaigns to:
| Audience Type | Description |
|---|---|
| All subscribers | Entire audience |
| Manual selection | Selected subscribers |
| Custom emails | Manual email list |
Custom emails
Custom emails support:
- Comma-separated emails
- Multi-line emails
- Email validation
- Duplicate removal
Final creation flow
After validation, the wizard:
- Creates campaign
- Saves draft status
- Stores HTML/CSS/text
- Opens Campaign Editor