Get Started
Forms helps you collect messages, enquiries, leads, support requests, and contact details from your website in one place.
You do not need to be technical to use it. In most cases, the setup is simple:
- open Forms
- choose a plan
- create your form
- copy your form endpoint
- connect it to your website form
- receive submissions in your email and dashboard
How to Access Forms
You can open Forms in either of these ways:
- from the menu: Products → Business Tools → Forms
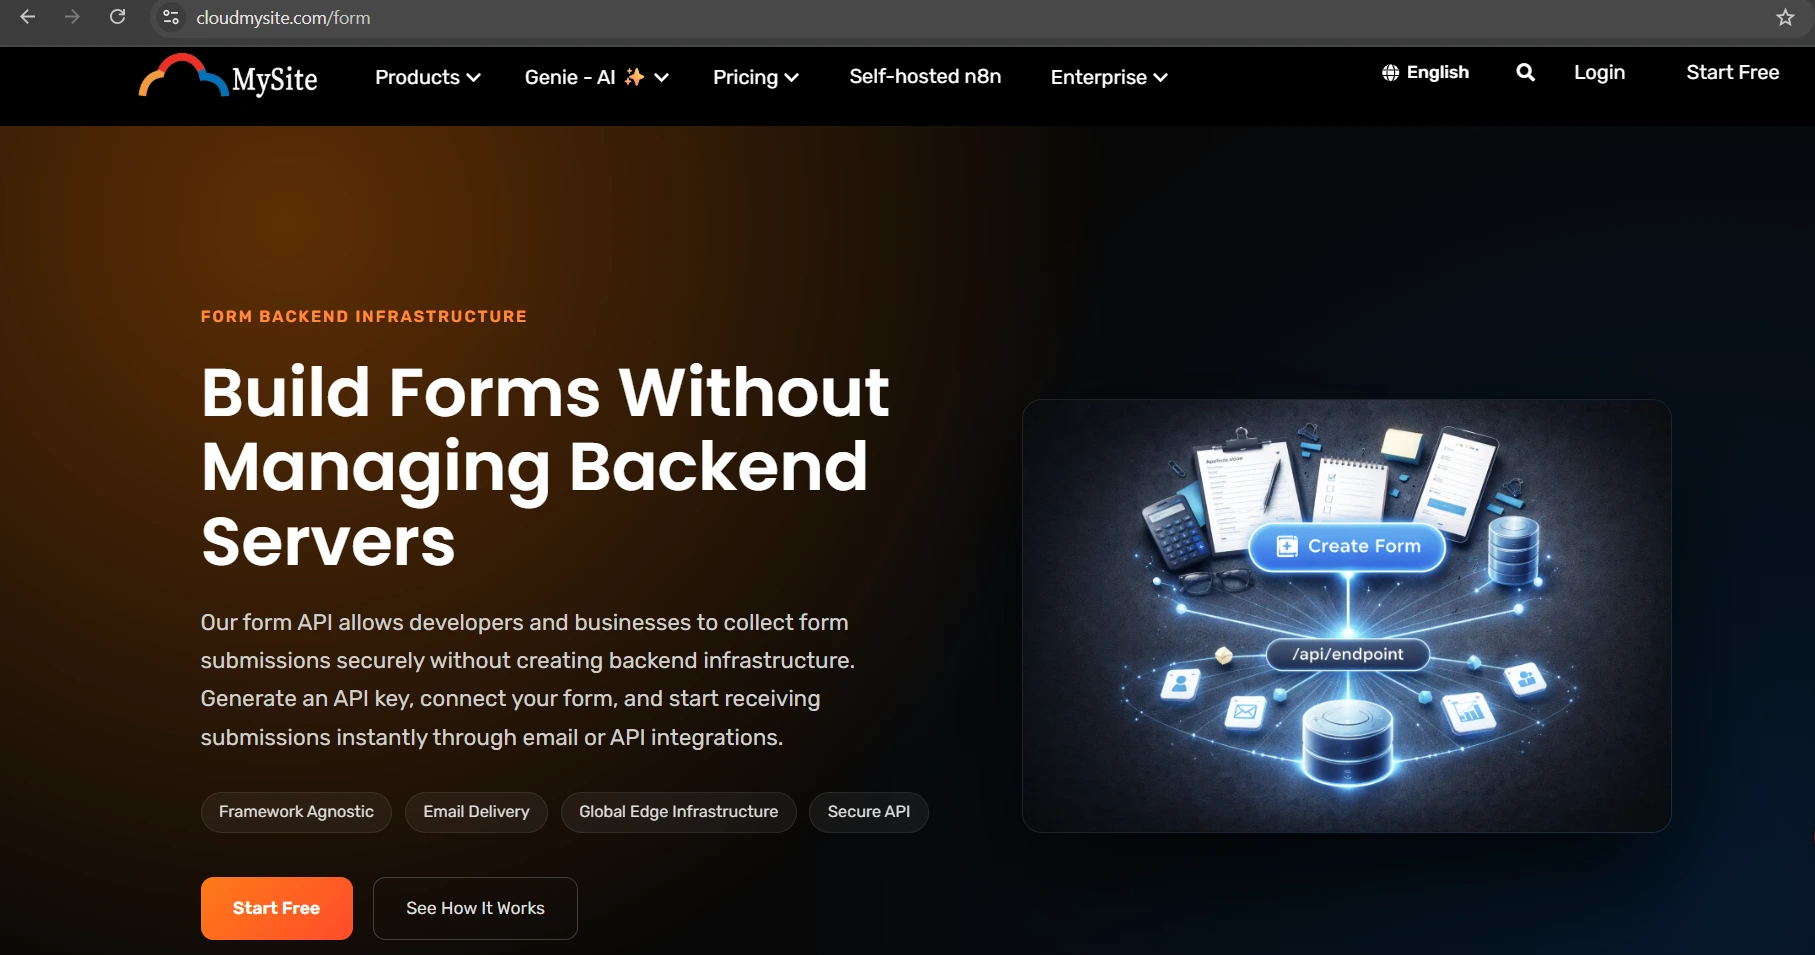
- from the Forms banner: select Create Your Form
Shown Forms page:
Choose a Plan
After opening Forms, select the plan that fits your needs.
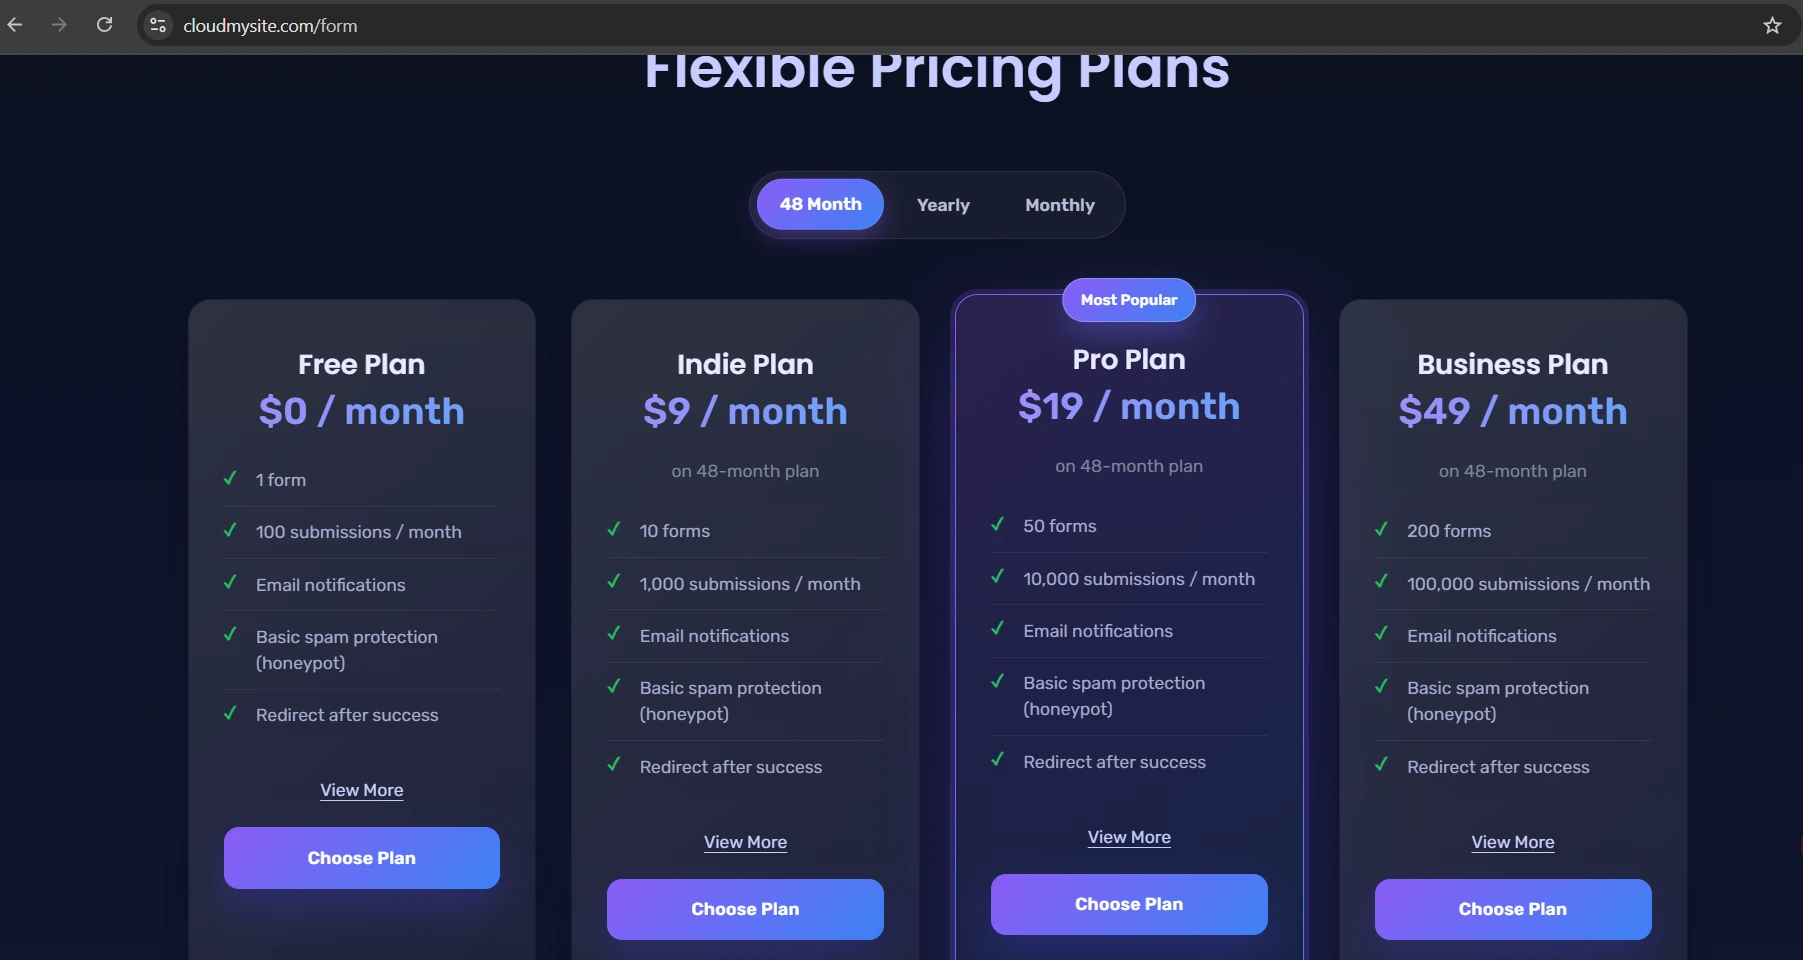
Available plans may include:
- Free
- Indie
- Pro
- Business
- Enterprise
Plan selection page:
What Happens When You Select a Plan
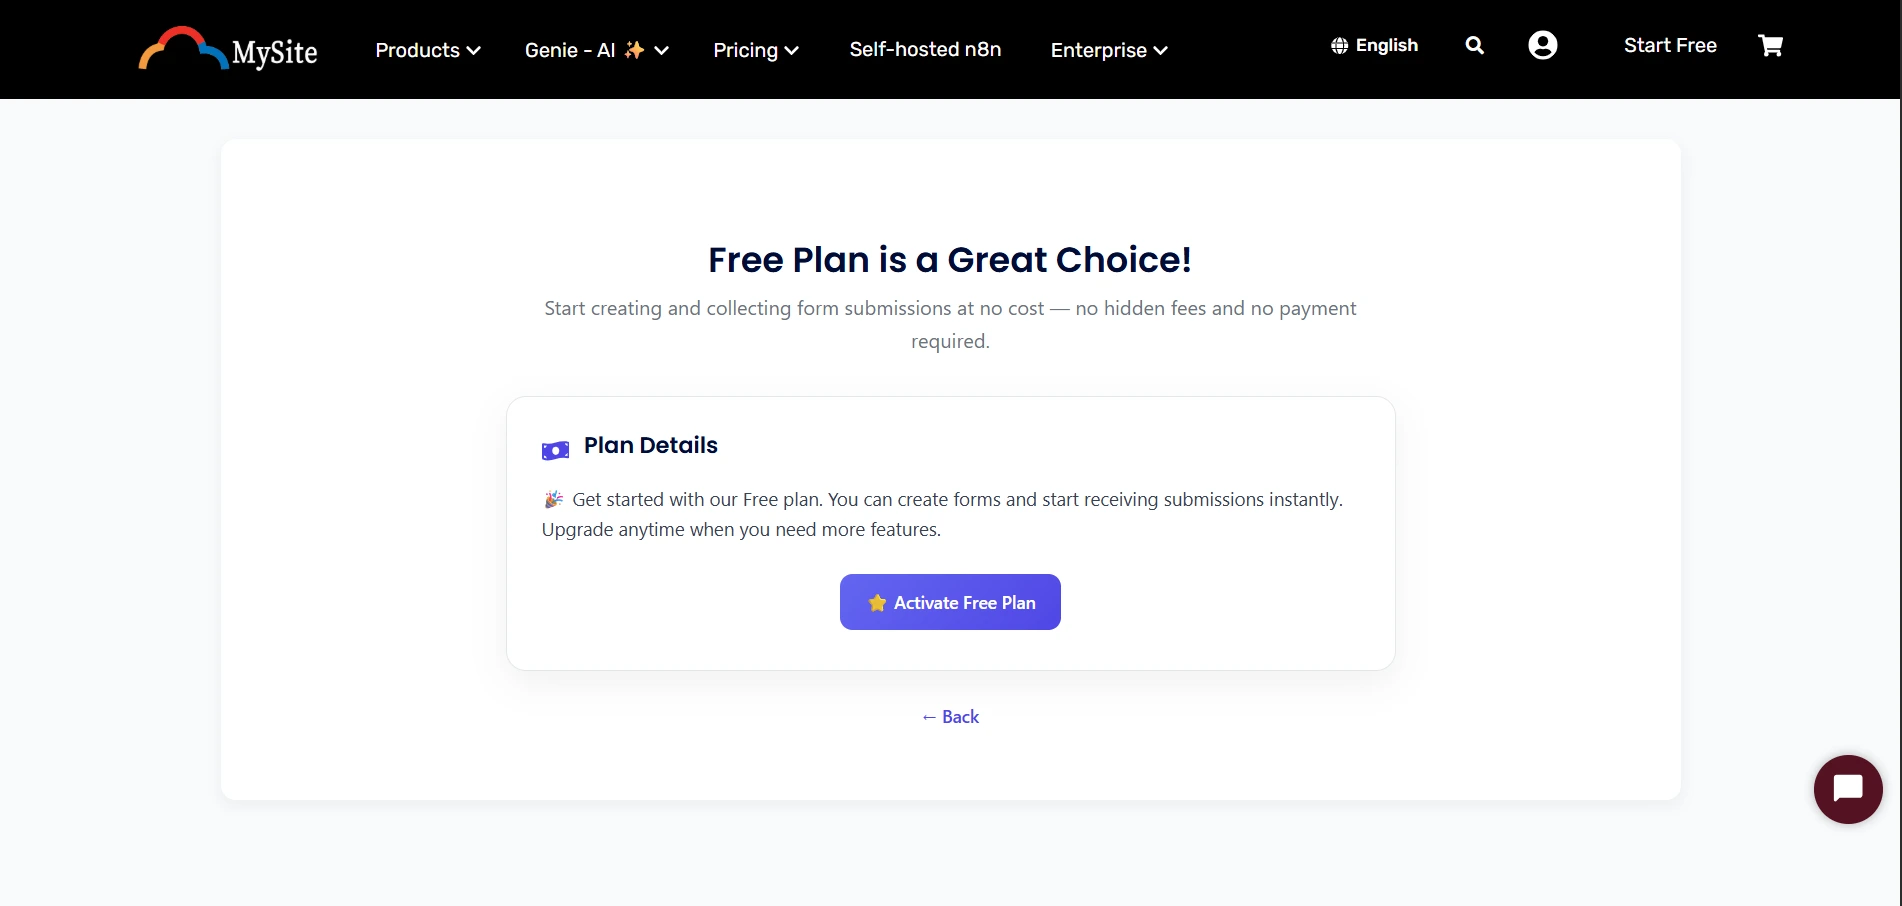
If You Select the Free Plan
If you select the Free plan, you can continue directly with setup.
Free plan flow:
If You Select Indie, Pro, Business, or Enterprise
If you select any paid plan, you will be taken to the payment page to complete your purchase first.
Payment page:
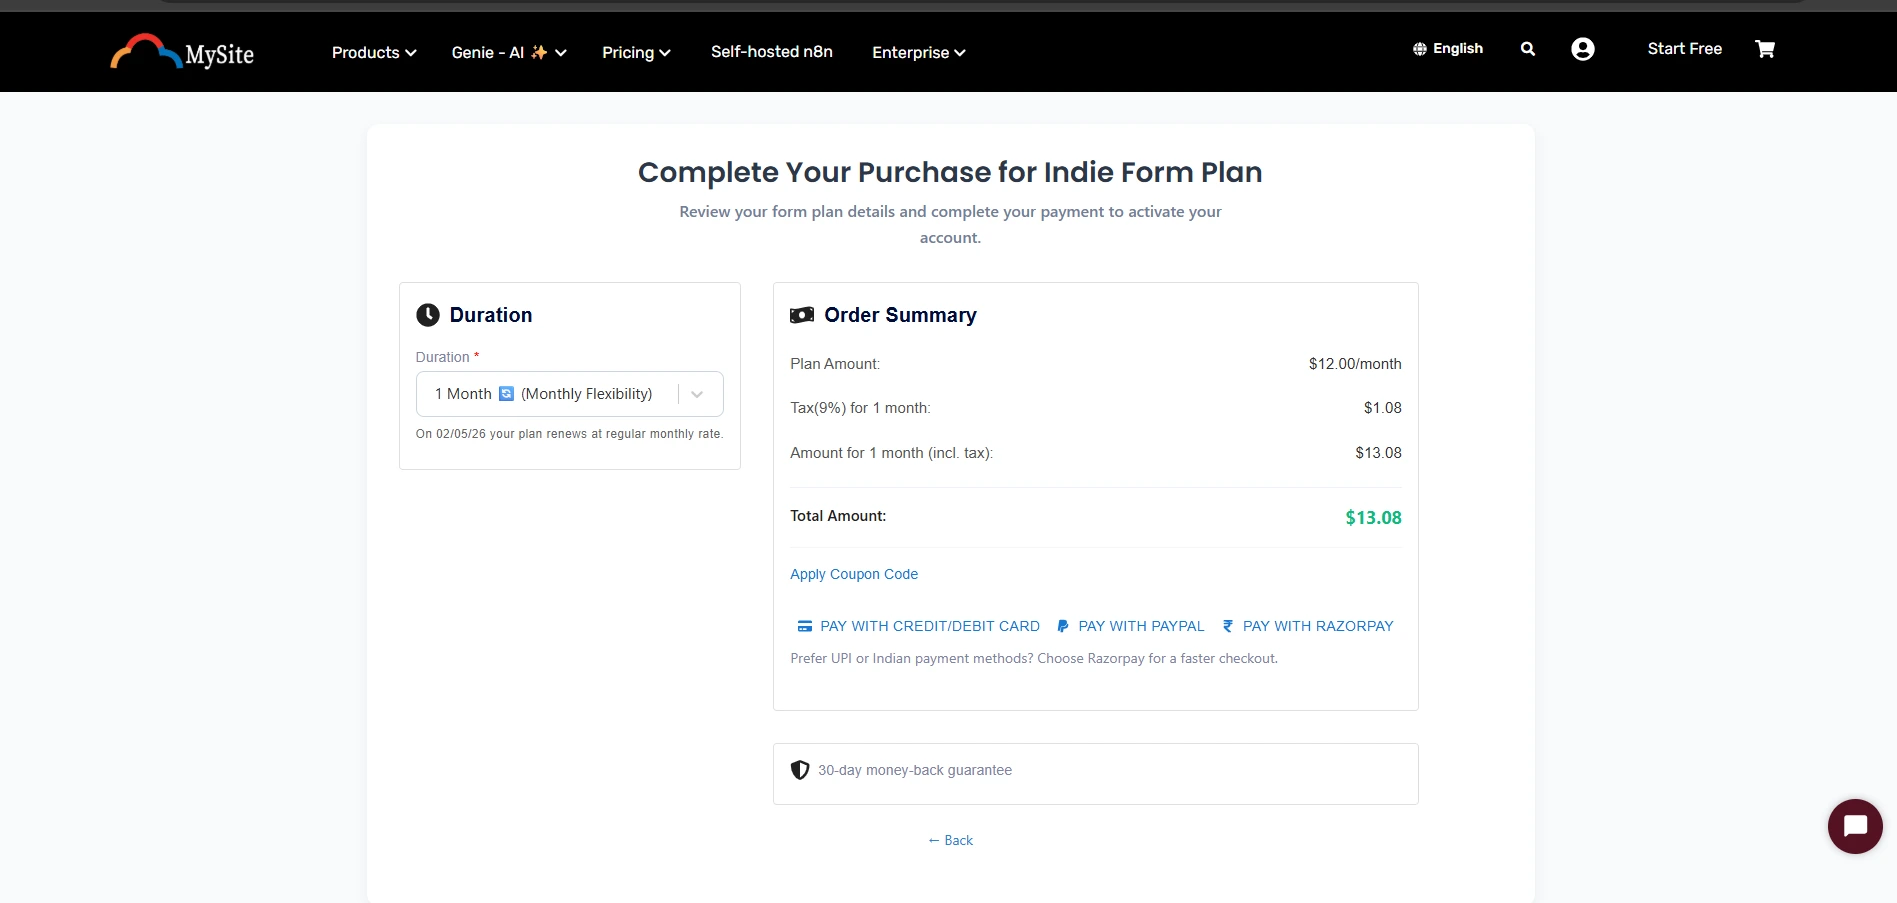
After payment is completed, the plan will appear in your dashboard.
What Happens After Purchase or Free Activation
Once your plan is active, it will appear in your dashboard. From there, you can configure your form and continue with setup.
The remaining setup is the same for both Free and paid plans.
First-Time Setup
For a new user, the easiest path is:
- open Forms
- choose a plan
- complete payment if required
- open your active plan in the dashboard
- click Configure Form
- enter a form name
- enter the email address that should receive submissions
- save the form
- copy the generated endpoint
- add that endpoint to your website form
Open Forms in the Dashboard
- Sign in to your dashboard.
- Open Forms or the section where your Form plans are shown.
- You will see your active plans there.
If you do not have a plan yet, you can start by choosing one from the Forms page.
What You See in the Plan Area
In your Form plan area, you may see:
- your plan name
- order ID
- plan price
- created date
- actions to configure a form
- actions to manage a form
- actions to upgrade a plan
- actions to cancel a plan
What You Can Do With Forms
With Forms, you can:
- create one or more forms
- receive form submissions by email
- use forms on websites hosted with us
- use forms on BYOW websites
- use forms on other websites too
- view submissions in your dashboard
- update settings later anytime
Before You Begin
It helps to have:
- an active Form plan
- the email address where you want to receive submissions
- access to the website where the form will be added
What Happens After Setup
After setup, your form can do the following:
- accept submissions from your website
- send those submissions to your chosen email
- show recent activity in the dashboard
- let you review submissions later
- let you update settings such as redirect, spam protection, and notifications
Good First Example
A simple first form could be:
- form name: Contact Form
- recipient email: [email protected]
This is a good starting point for most websites.
If You Do Not See a Form Yet
If your plan is active but you do not see a dashboard for a form yet, that usually means the form has not been created yet.
Do this:
- open your plan
- click Configure Form
- complete the setup
- save it
- return to manage the form after it is created