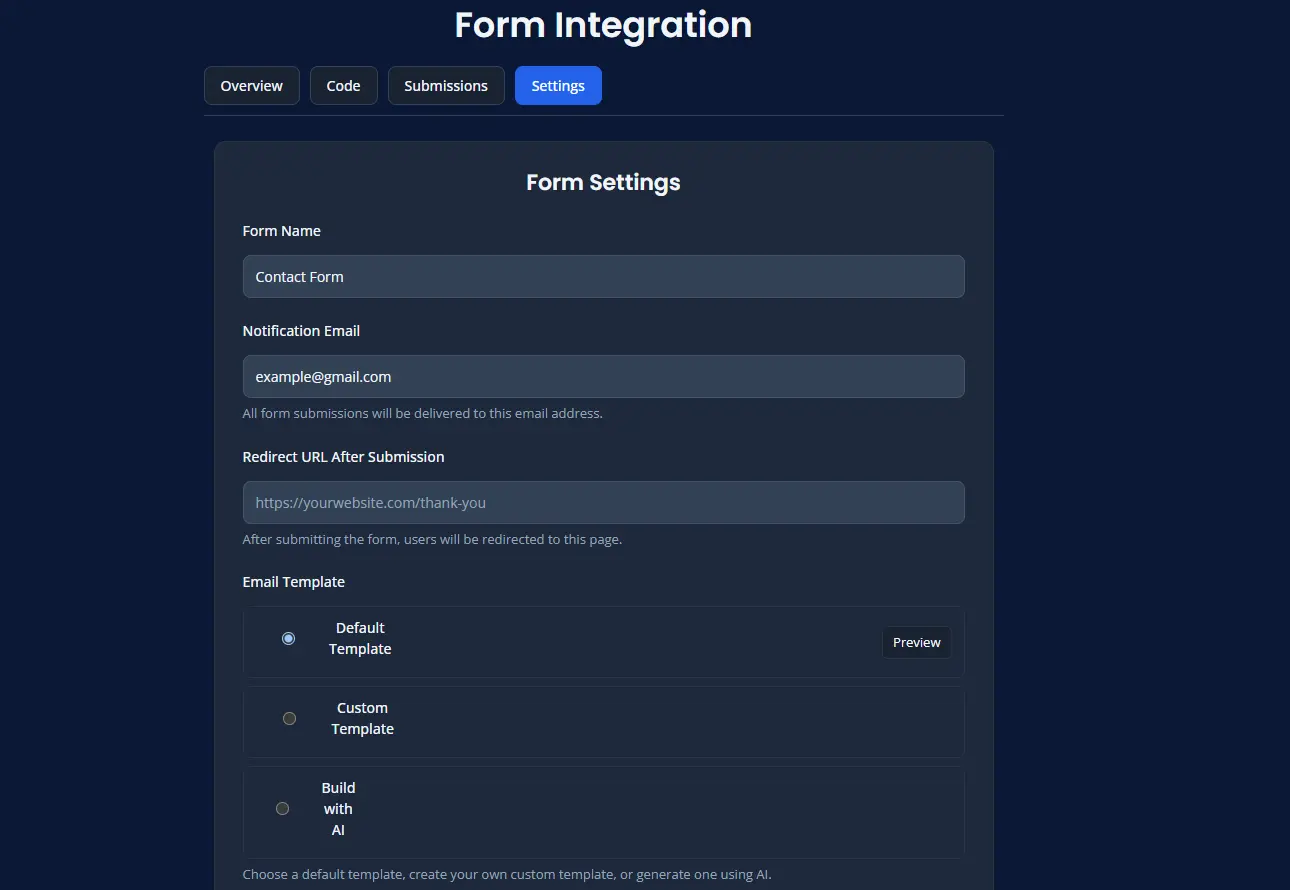
Form Settings — Email Template
The Email Template setting controls how submission emails look when they are sent to you.
This is useful when you want your notification emails to look cleaner, include branding, or present form data in a better format.
Depending on your plan, you may see different template options.
Open Email Template Setting
- Open Forms.
- Choose your plan.
- Click 🛠️ Form Settings.
- Locate the Email Template section.
Template Options
Template options may include:
- Default
- Custom
- Build with AI
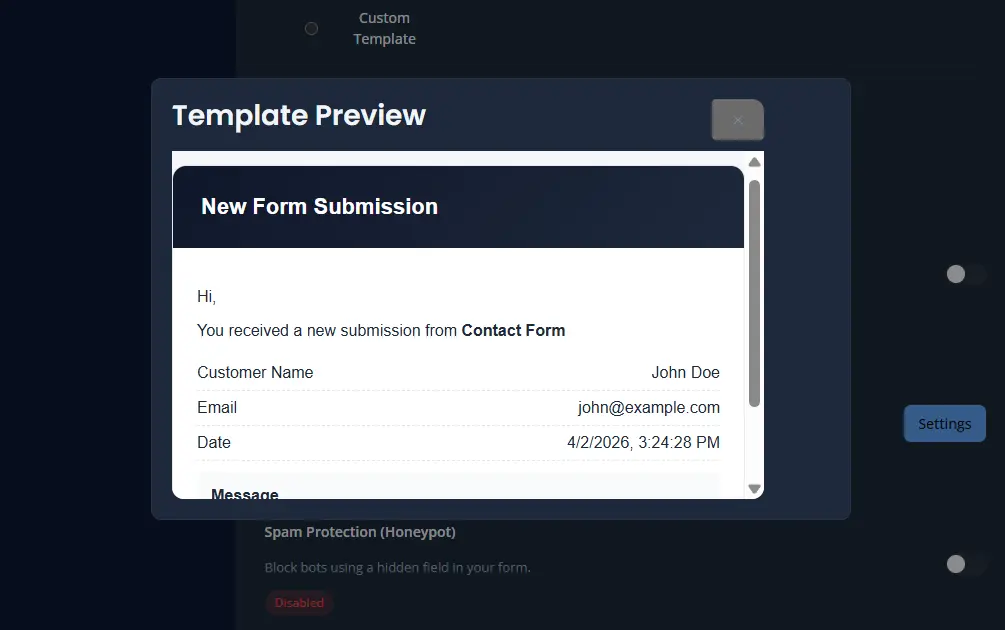
Default Template
The Default template is the easiest option for most users.
It works well when you want a ready-to-use email layout without making any changes.
Use this option if you want a simple setup that works immediately.
Default Template Example
Default Template Preview Example
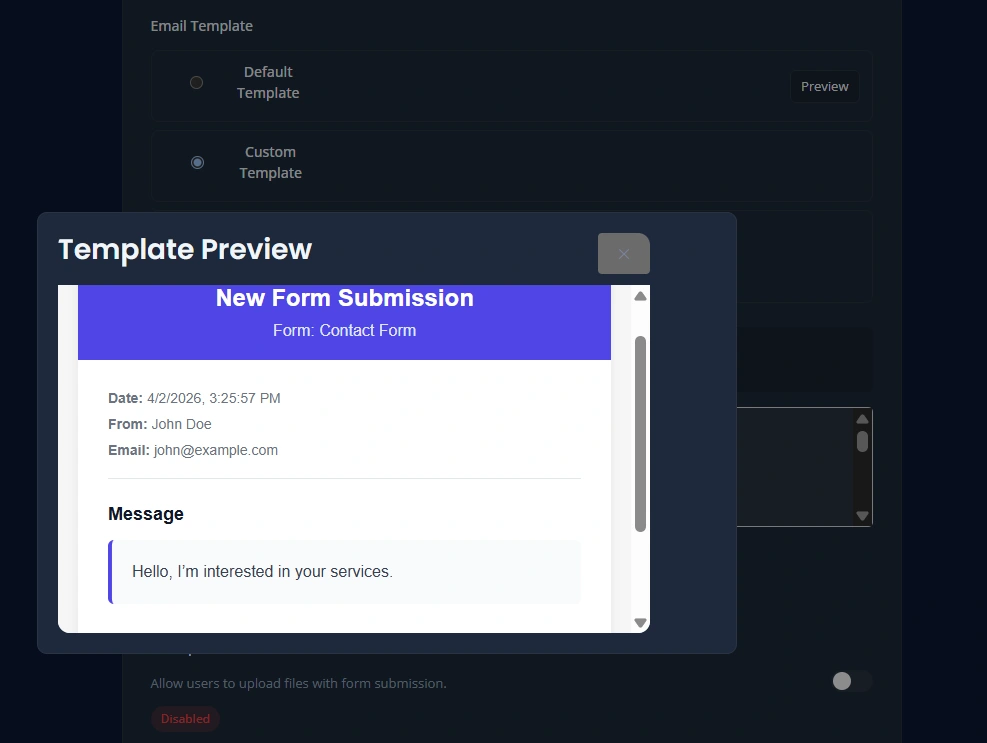
Custom Template
A Custom template lets you use your own email format.
This is useful when you want more control over wording, structure, branding, or how field values appear in the email.
Make sure the custom template is saved correctly and always preview it before using it in production.
Custom Template Example

Custom Template Preview Example
Build with AI
Build with AI helps generate an email template for you automatically.
This can be useful when you want a more polished email but do not want to design the template yourself.
Build with AI is available for paid plans only.
Best Practices
- preview templates before using them
- keep the email layout easy to read
- use branding only where needed
- test with a live submission before production use
Save Changes
After updating the email template:
- Click Save Settings.
- Submit a test entry.
- Review the email output carefully.